An Imperfect Garden

There used to be a time when I thought that bolting vegetables and aphids in my garden were a bad thing, over the years however I have found that in fact having these so-called problems can often do much more good than it can harm!  

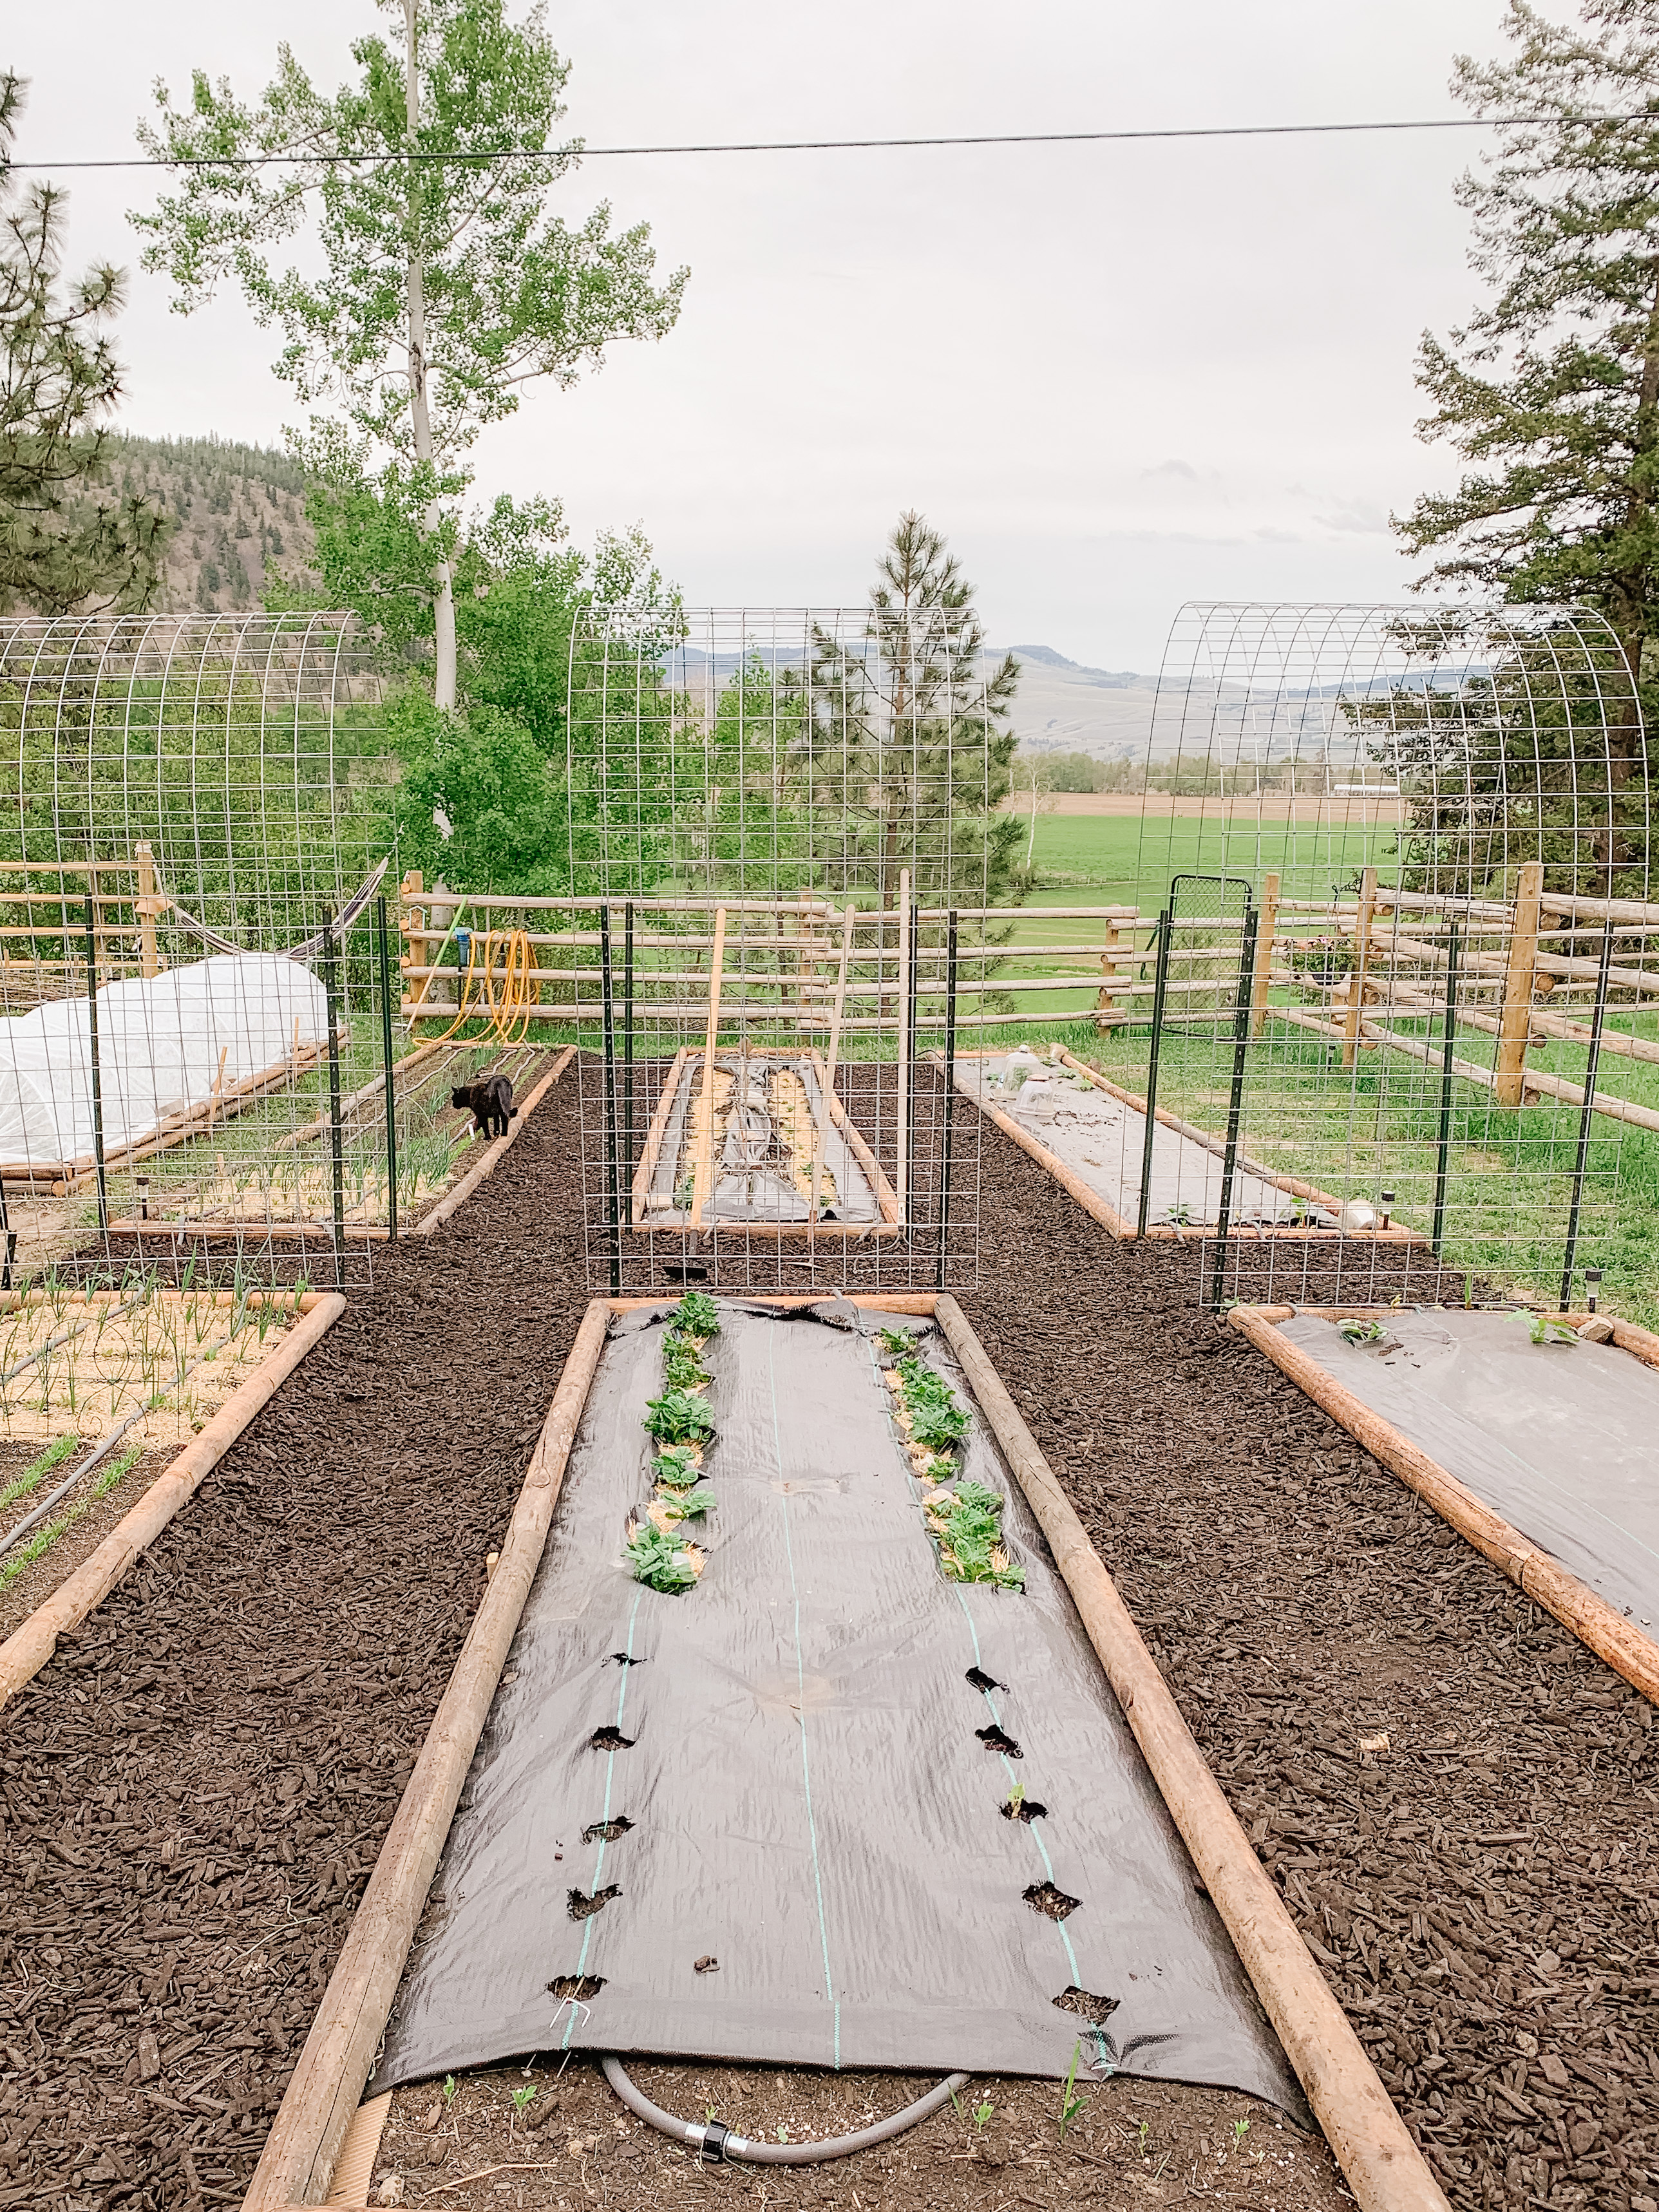
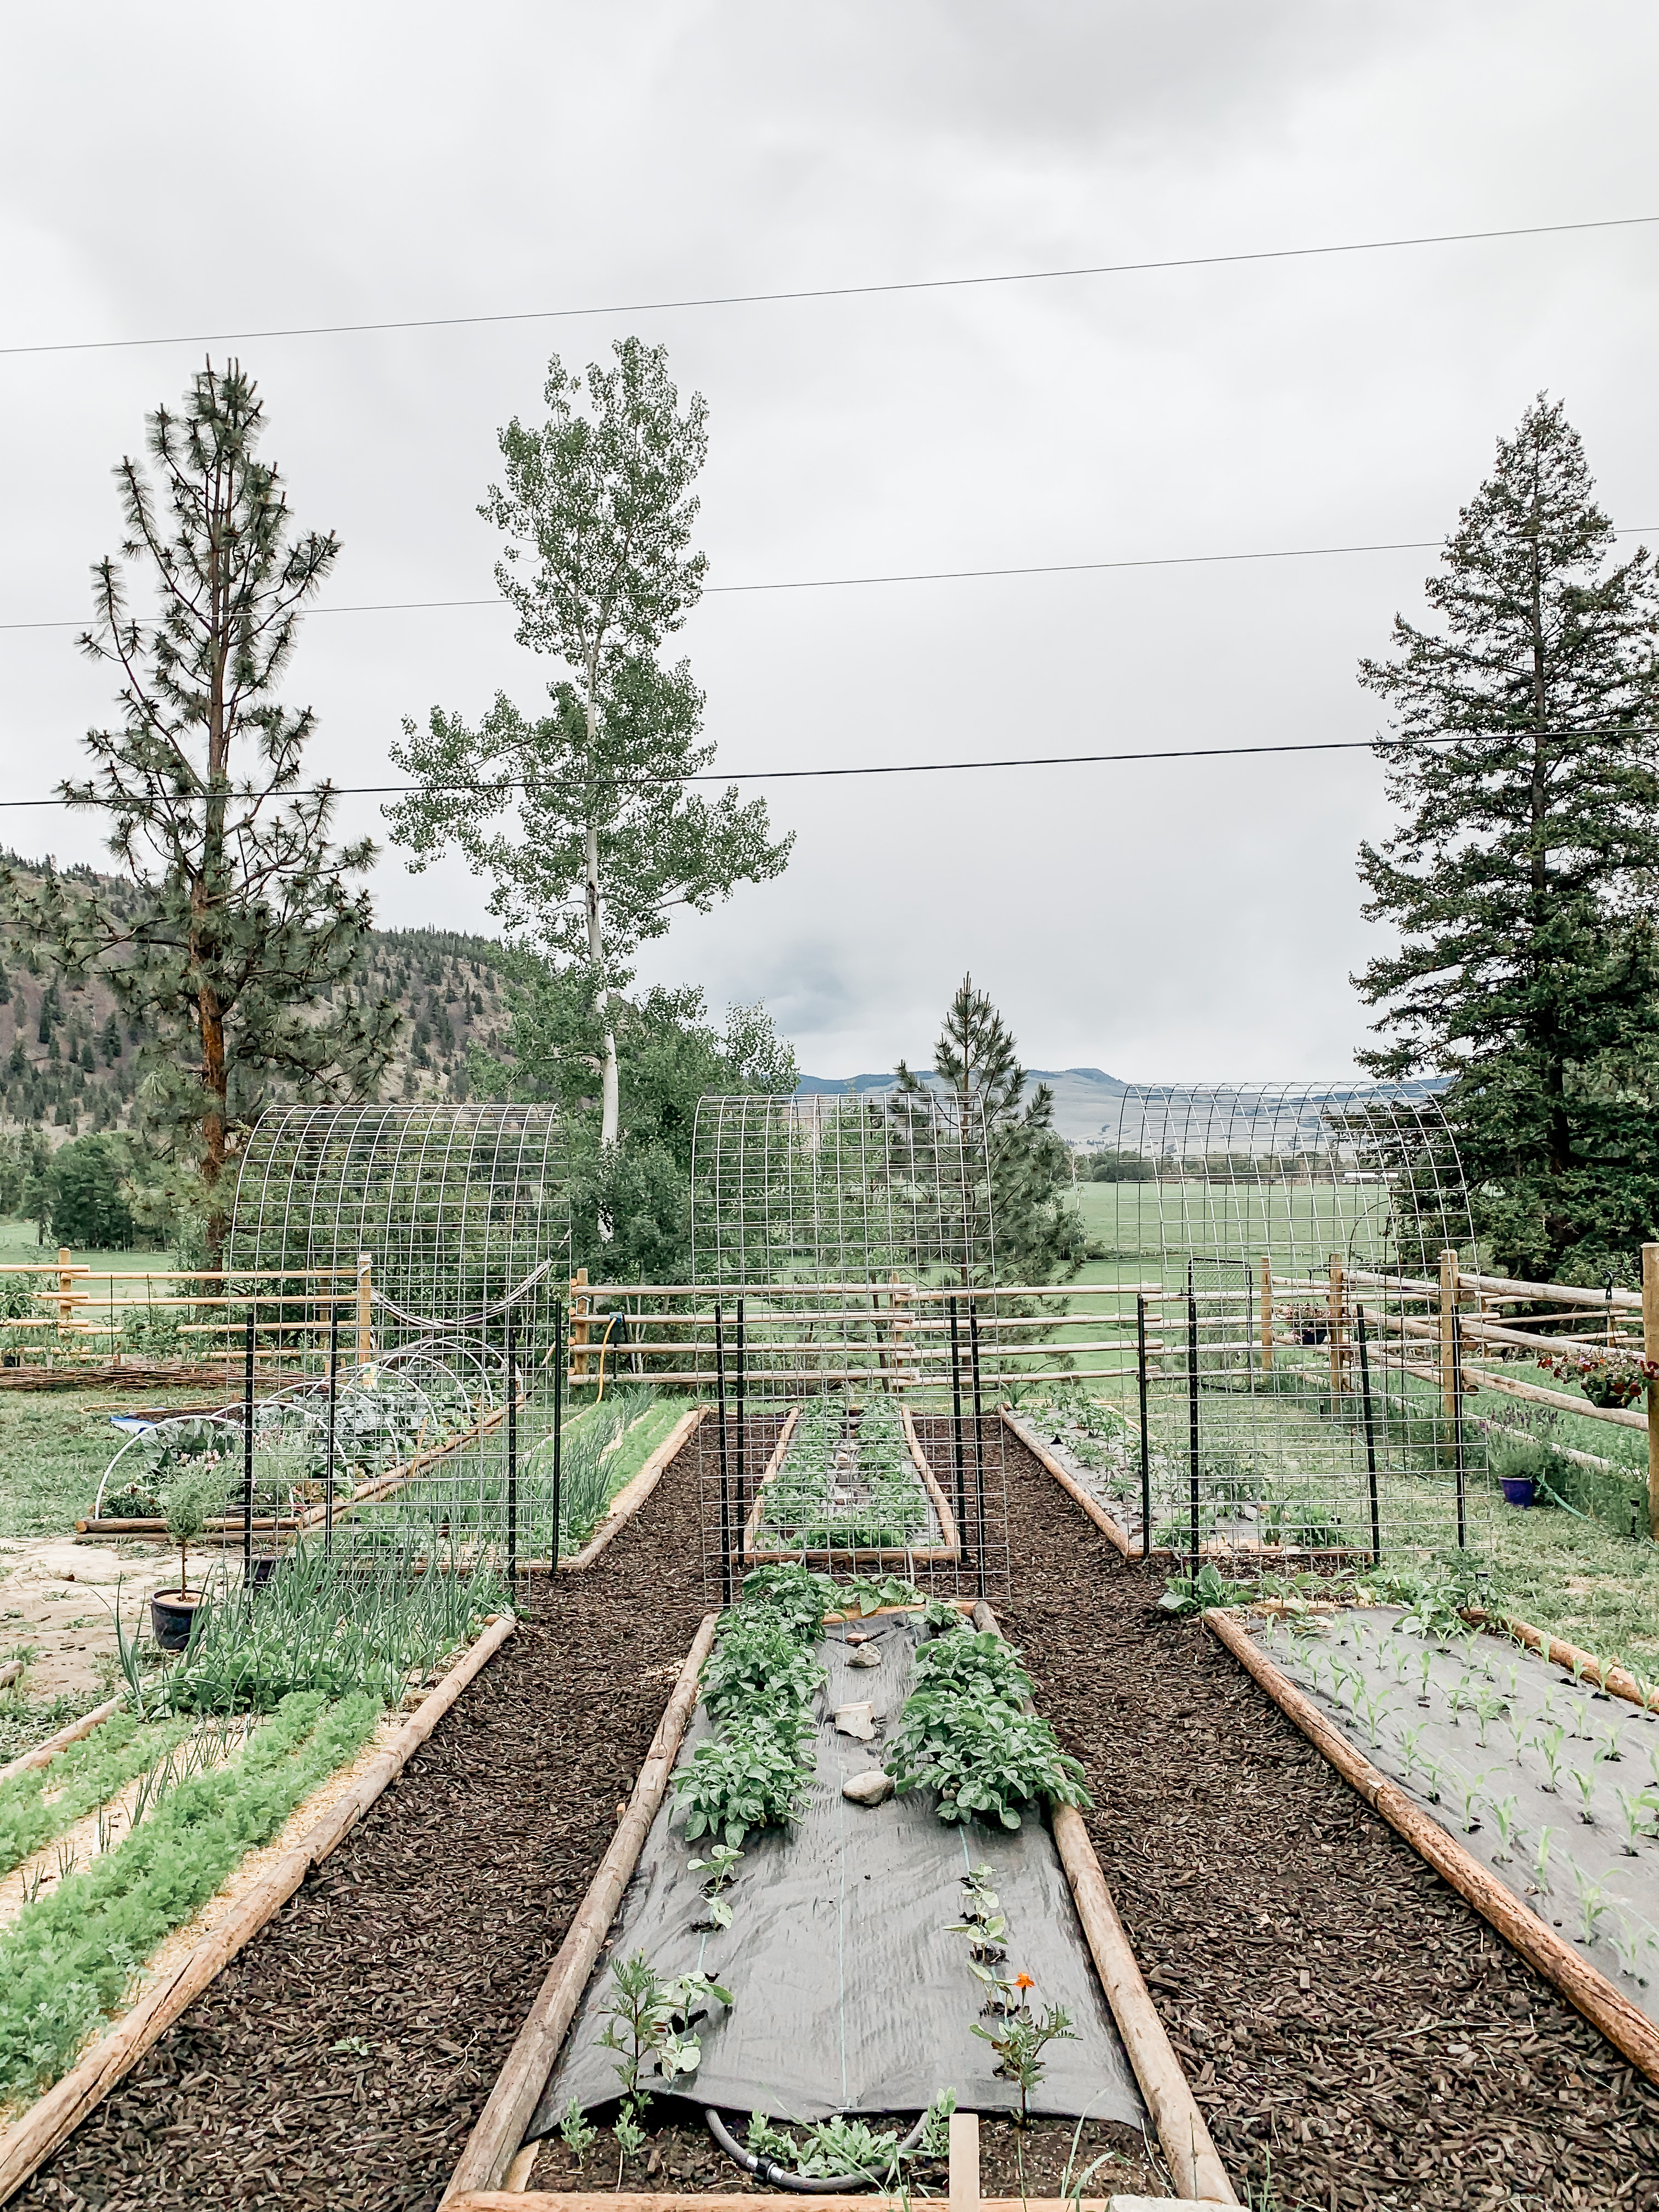
By simply letting go of the idea that my garden needed to look perfect all the time, I was able to step back and let my garden and nature do what it does best; work together.  

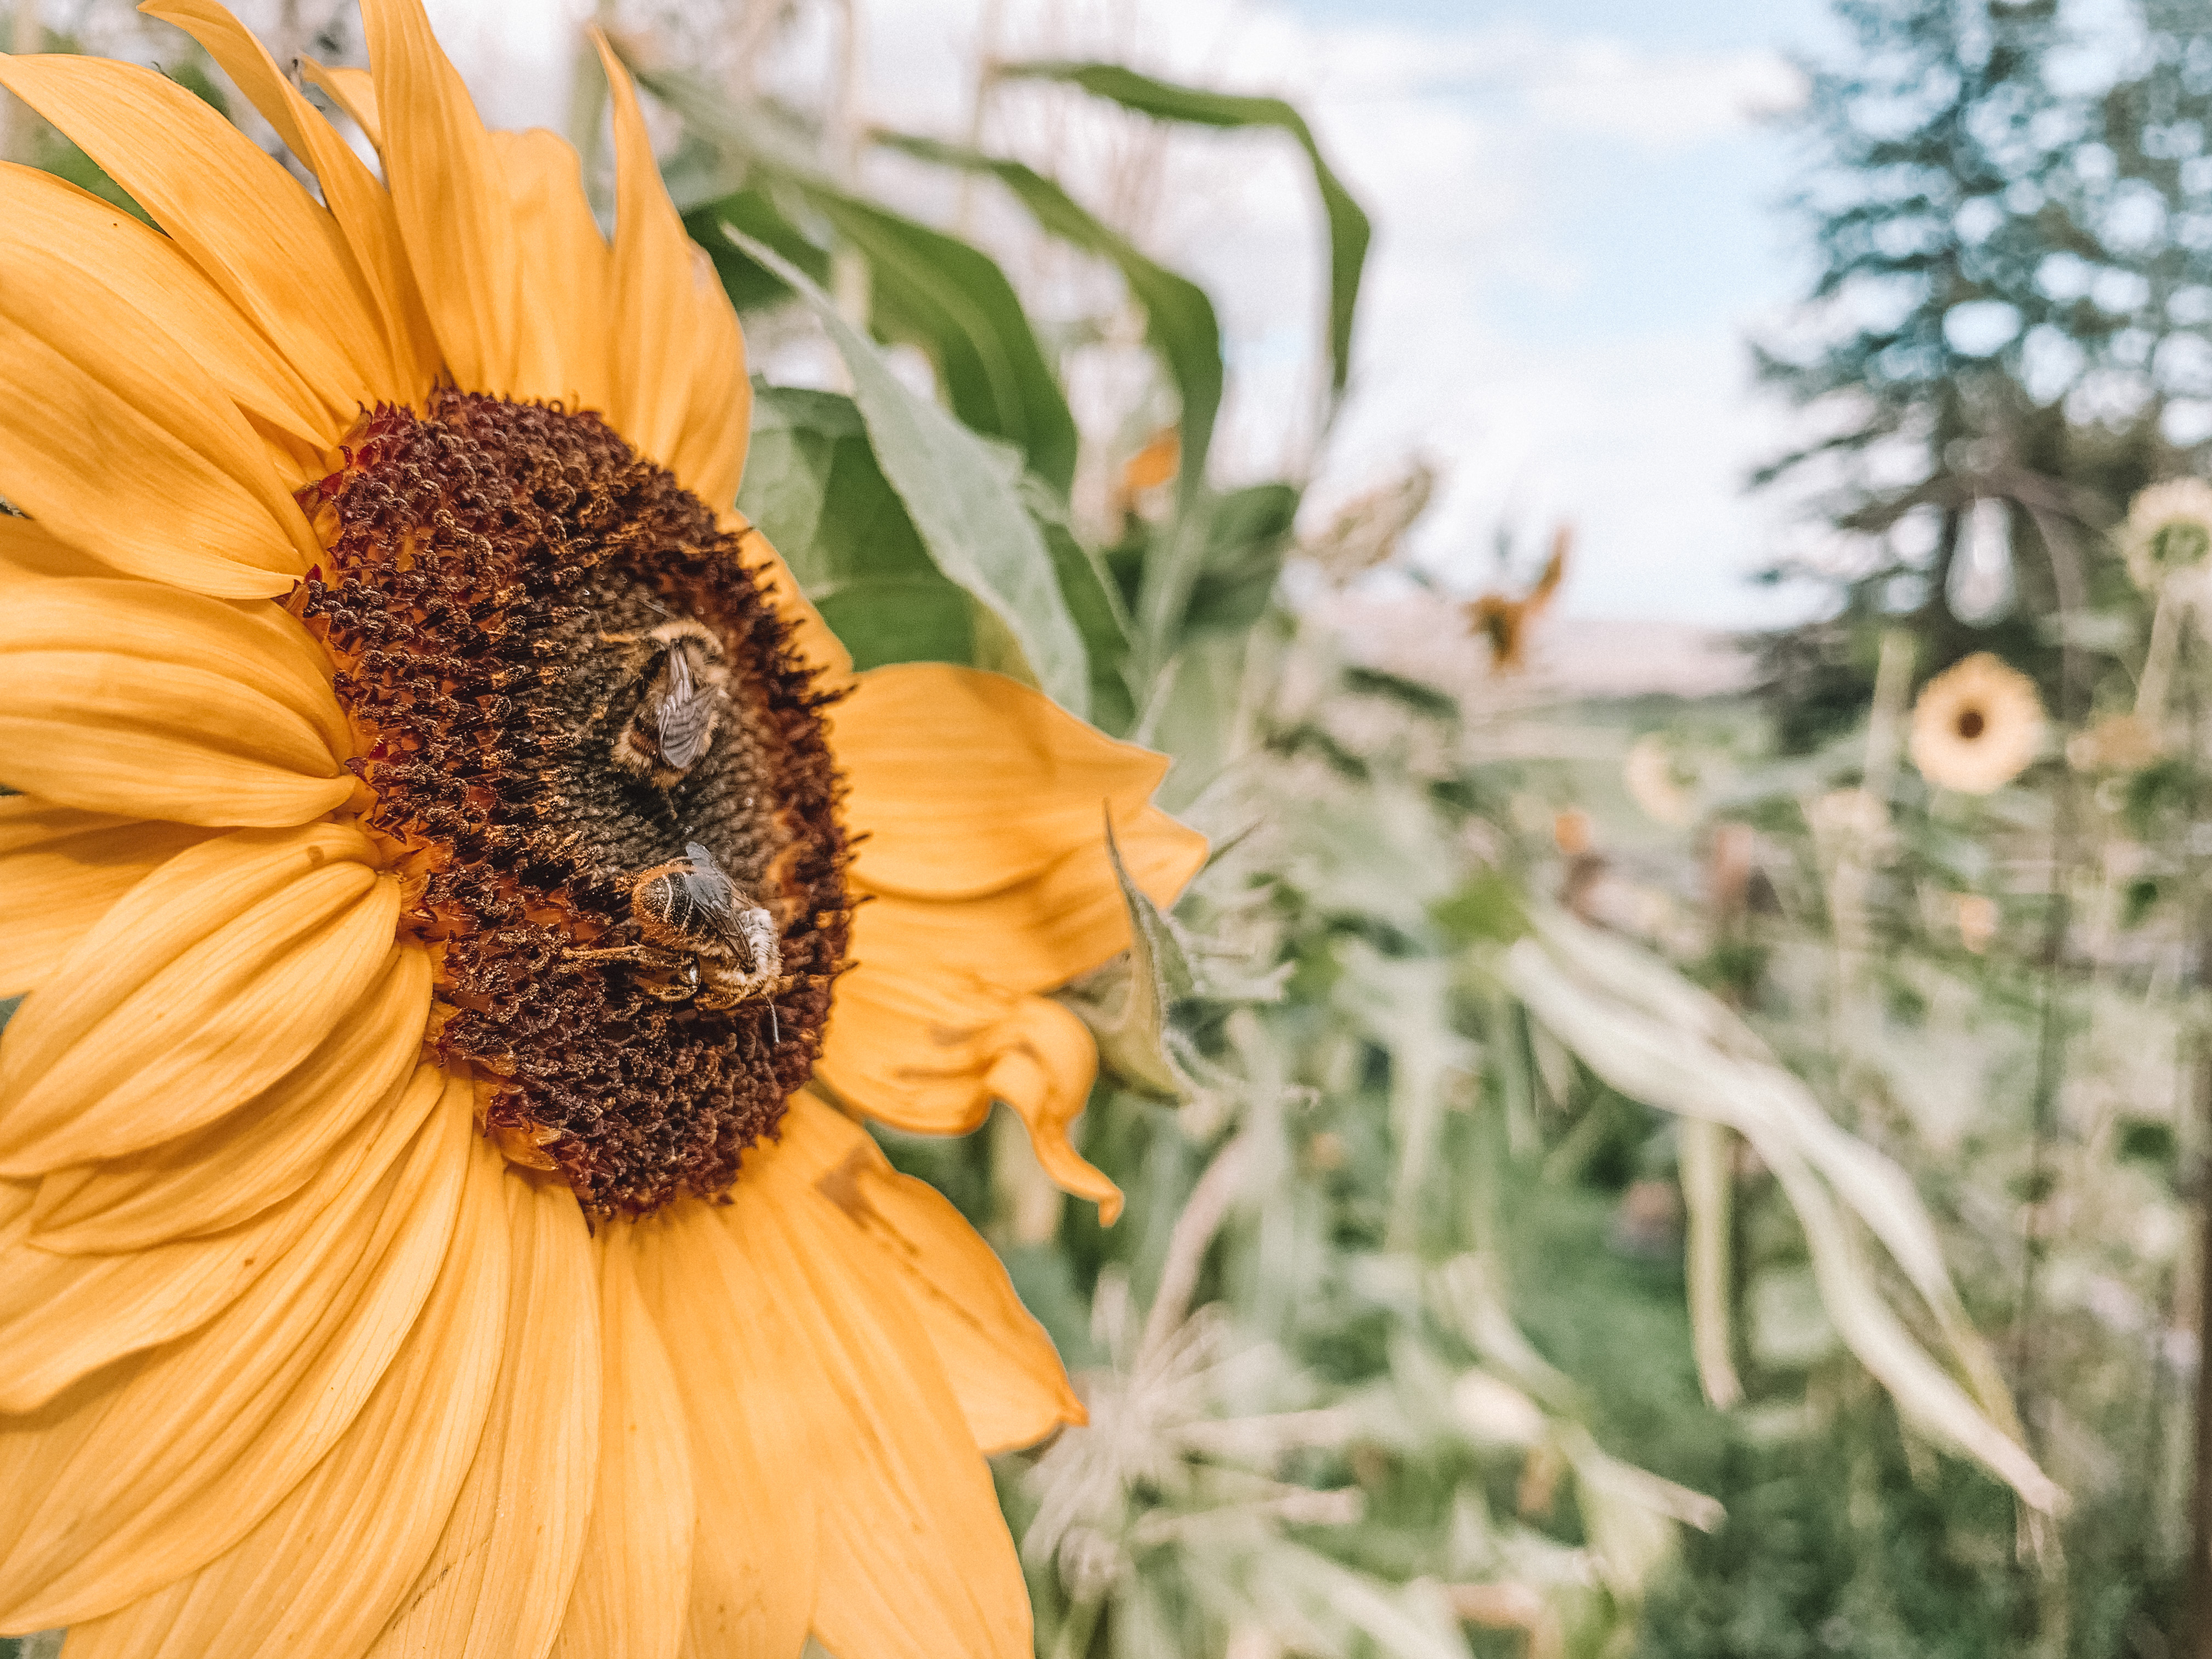
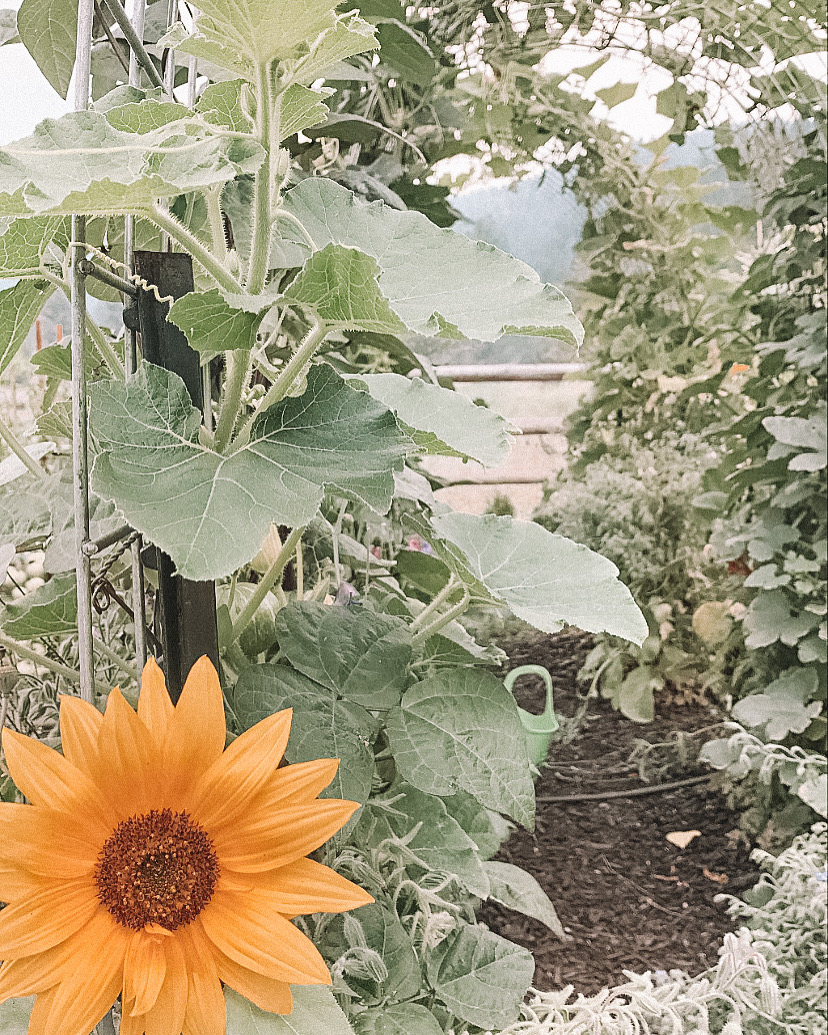
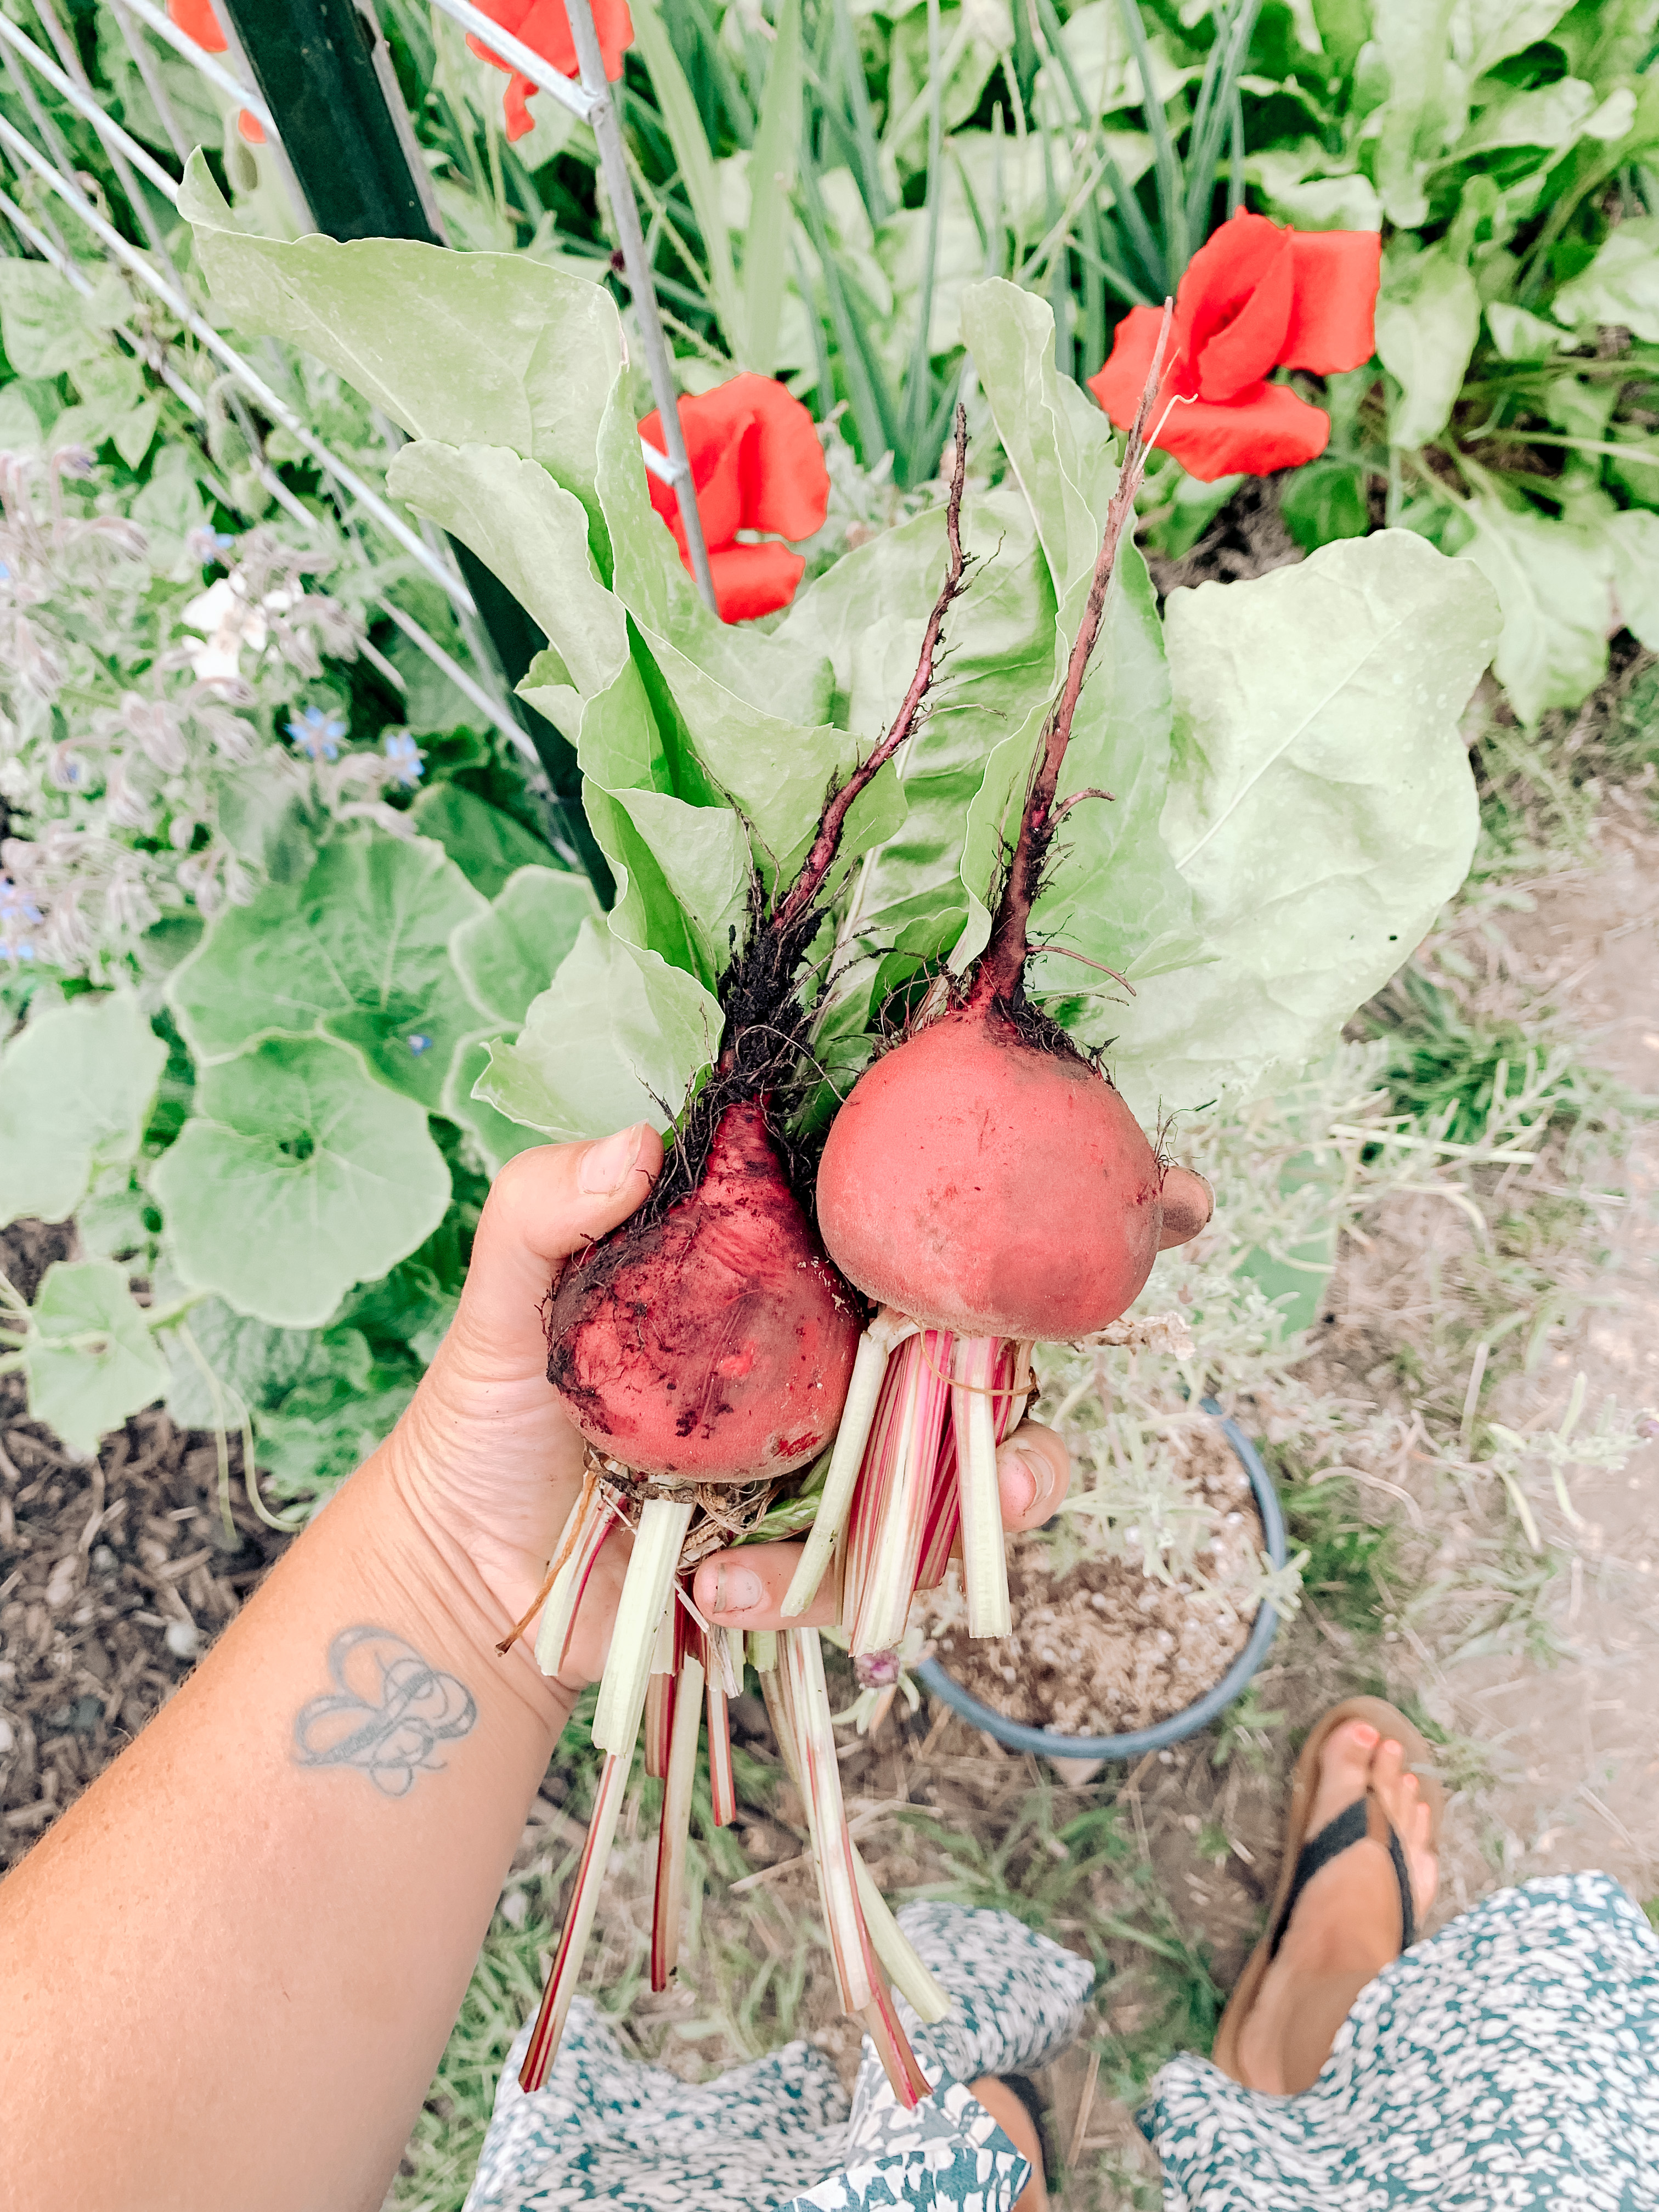
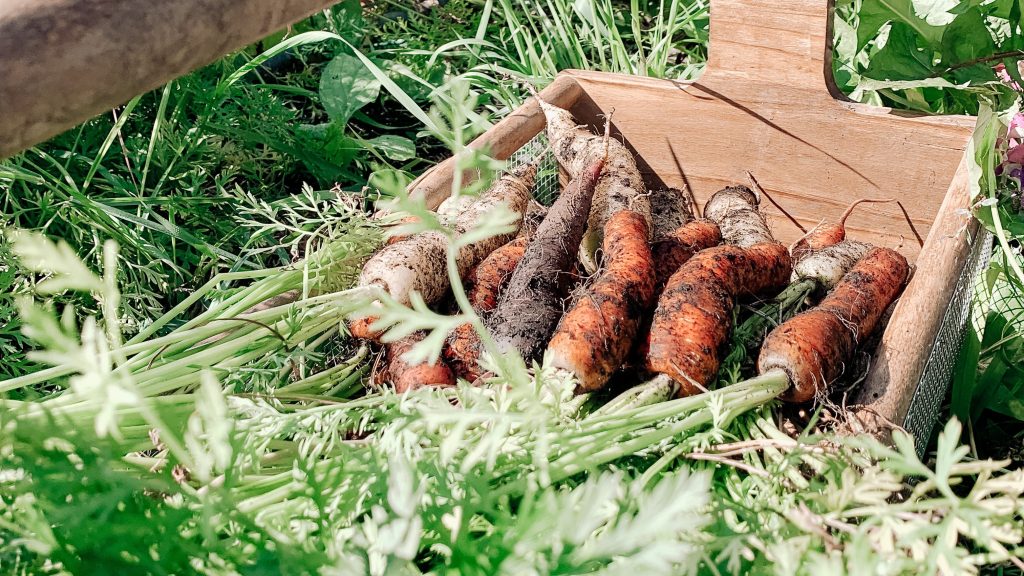
I let the carrots, lettuce and arugula that wanted to bolt do so, and they soon produced a beautiful abundance of flowers throughout my vegetable garden. Those flowers then attracted an assortment of beneficial insects, and I soon had a garden that was bustling with even more life than before!  

Instead of trying to also get rid of every single aphid I found (if it didn’t seem to be doing any major harm to the plant) I decided to leave them be. After a few days of leaving the aphids to do their thing, something quite beautiful began to happen… the infected areas of aphids began to attract ladybugs. Within a few days the insects that had been attracted to the aphids had completely cleared them from the infected plant!   

By letting the aphids stay on the plant, I was allowing the other beneficial insects in my garden to find them, and the aphids then became a food source for those insects and ladybugs as well as a perfect place for the ladybugs to lay their eggs. 

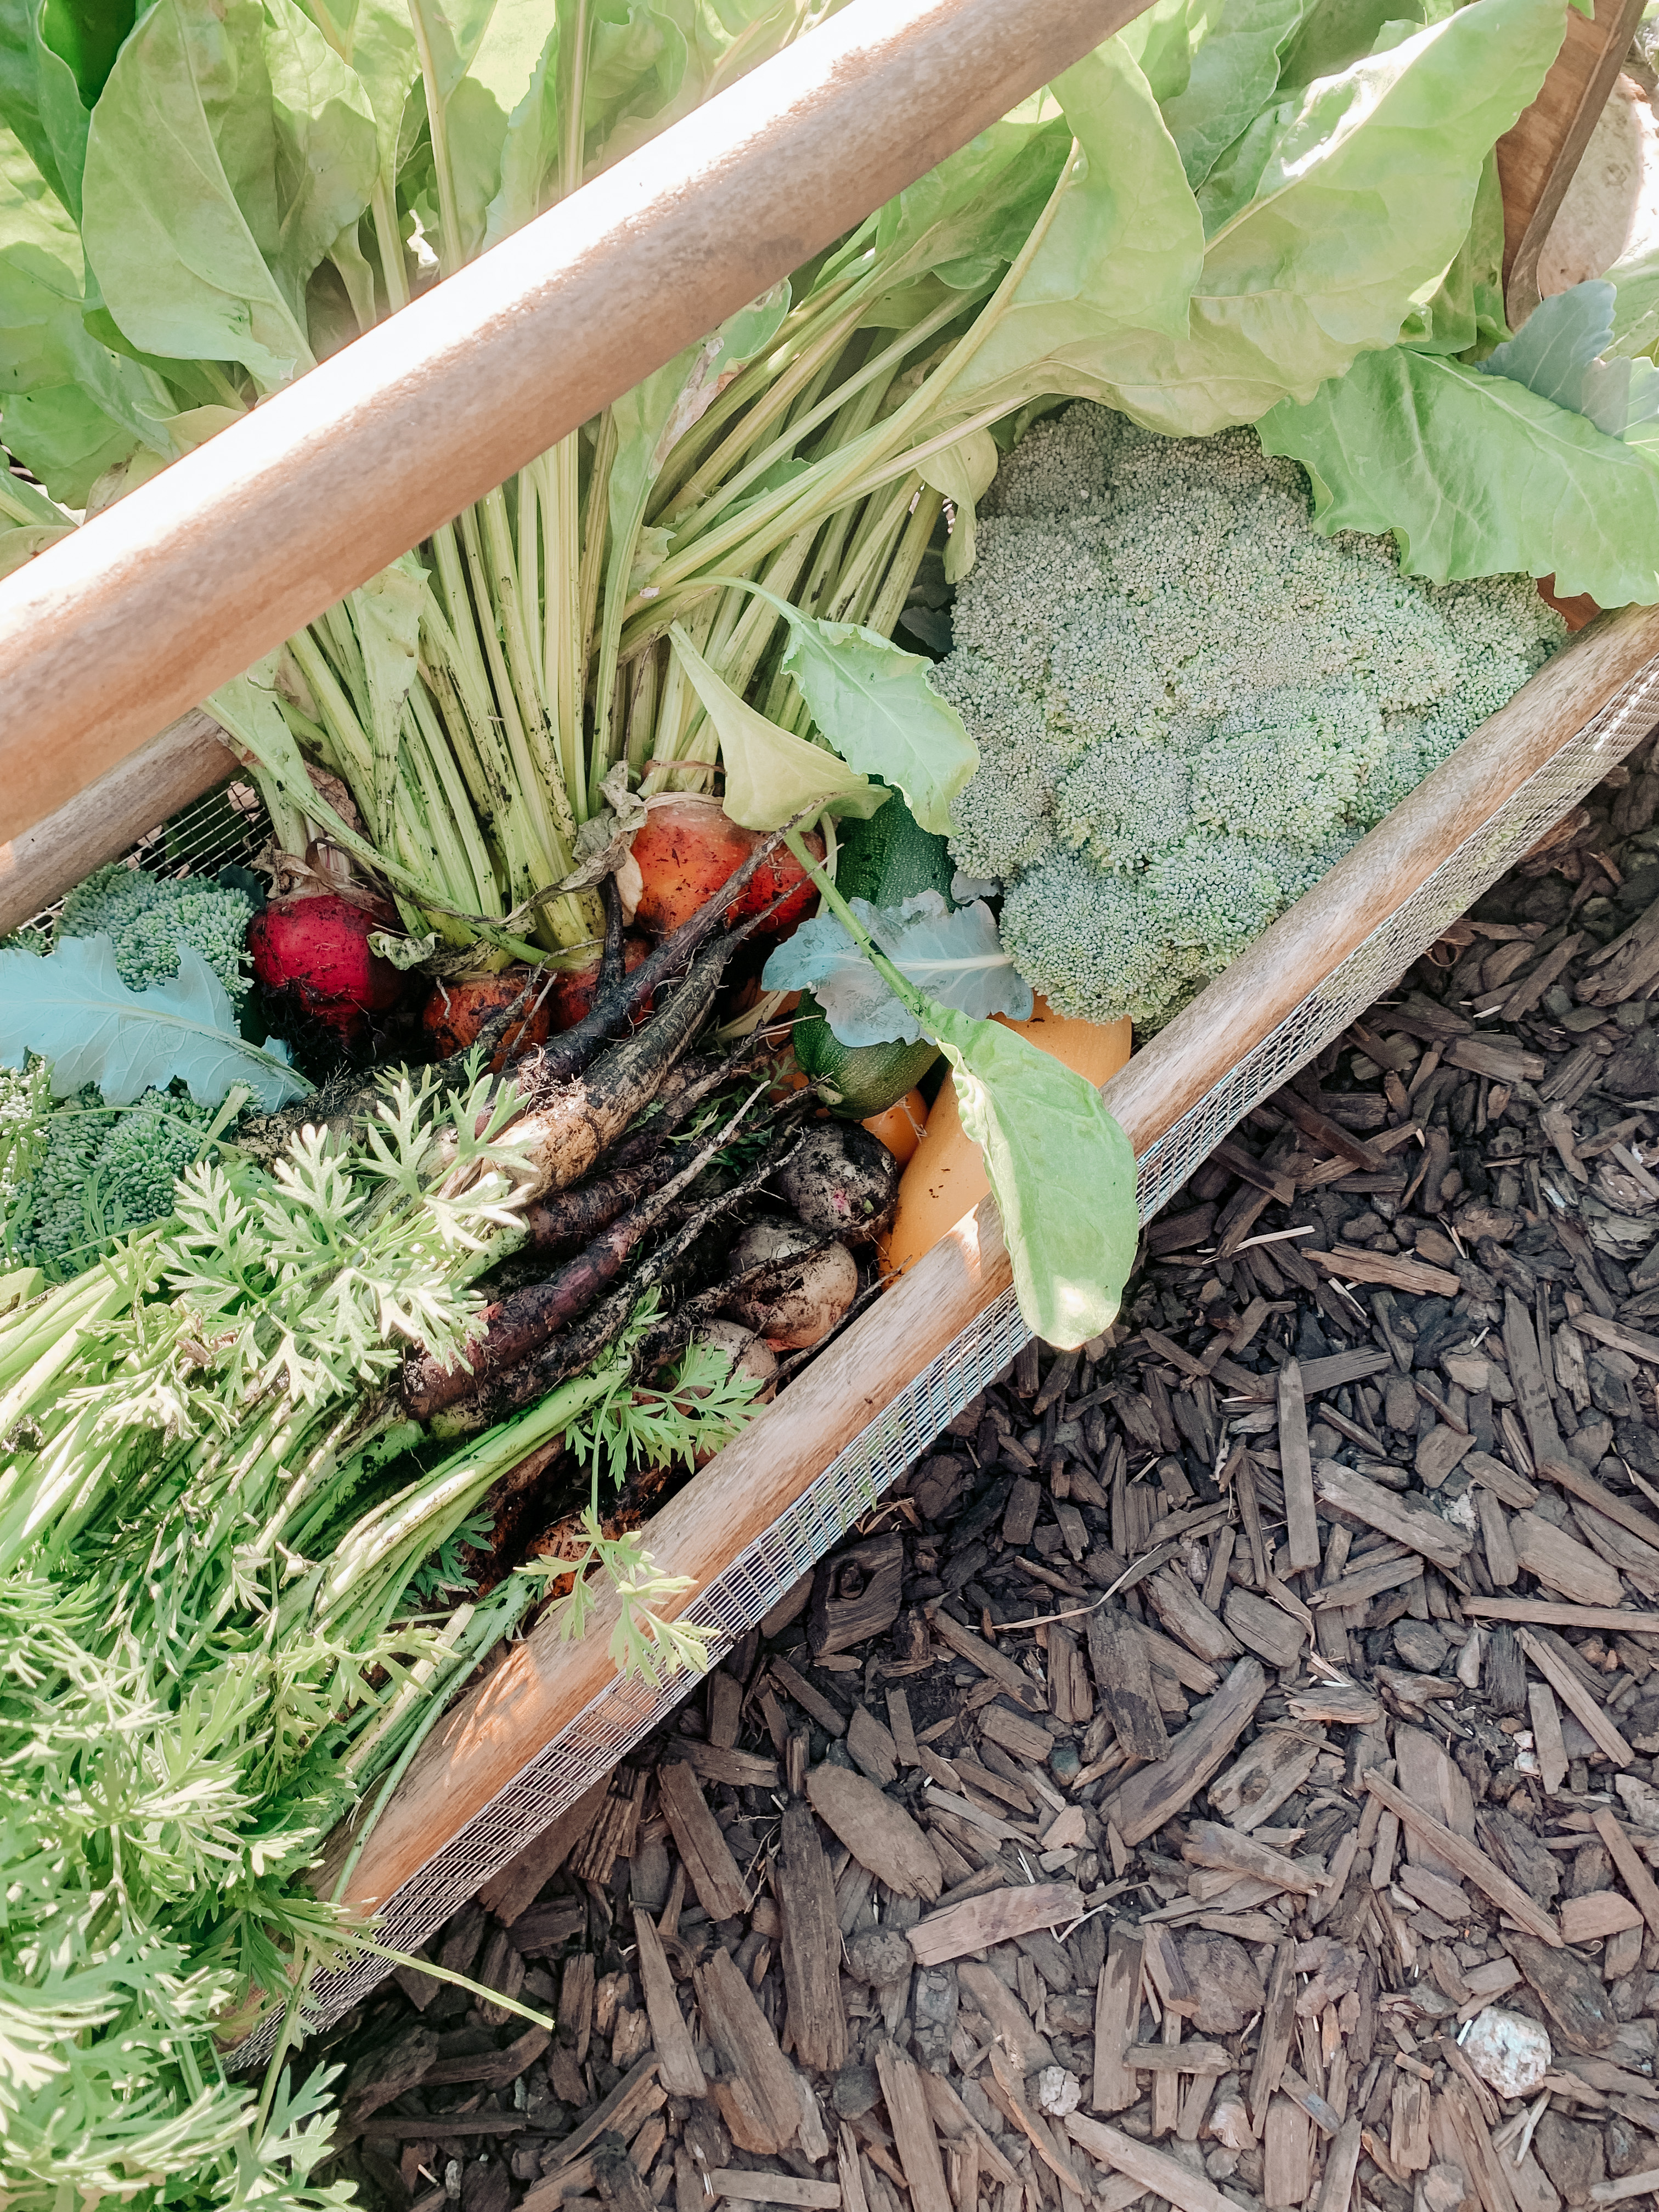
This had been the first time that I had let go of the idea that these insects had no place in my garden. For years I had always thought they were so detrimental to a veggie garden. When I gave up control to mother nature, she gave me an “I’ve got this” response back! It was one of the most beautiful things to witness in one’s own garden, and I realized then that maybe having the most perfect garden wasn’t always a good thing and could in fact be less beneficial than an imperfect one!   

So the next time you see a few vegetables starting to bolt that you would normally pull out or those tiny little aphid pests on the stalks of a plant that you might spray off with water or dose with some manor of spray, maybe pause for a moment and wait to see what mother nature might be able to take care of for you first!   
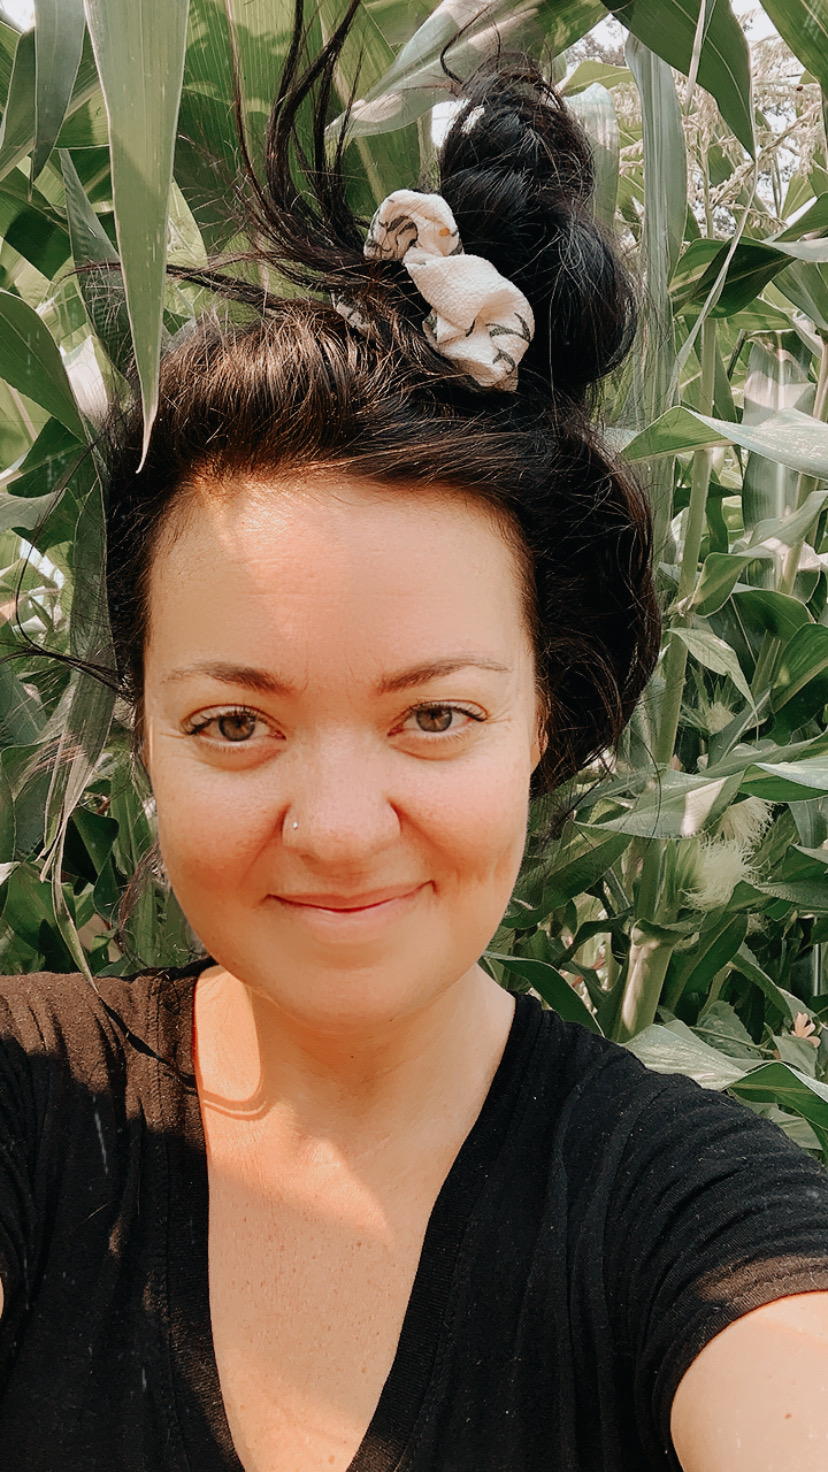
Till next time,  

H 

Our Garden: Starting From Scratch

In March of 2021 my husband and I started work on our new veggie garden! I had done a bit of research and wanted to go with the no dig approach by Charles Dowding, an amazingly talented gardener from the UK who has written multiple books and courses on gardening. I purchased his book called No Dig Gardening, Course 1, and found it to be super helpful and packed full with great information. As you can see from the pictures below these were the results we got using this growing method on our gardens 1st year!! 

Top End March 31st, 2021 – Bottom End July 10th, 2021

The no dig method is a very easy and low maintenance approach to gardening that focuses on enhancing your soils structure no matter the type while also keeping those pesty weeds at bay! This is achieved easily by adding cardboard on the ground over the area you are wanting to use for your garden and then adding about 6 inches of compost. The cardboard suppresses the weeds and grass from growing and the compost gives your plants all the nutrients they need while also attracting beneficial organisms and earthworms to your top layer of soil to feed. This helps improve your soil’s structure and will help your vegetable garden to thrive!! 

We did have to till our main garden area lightly before laying down the cardboard to helps level out the ground, as it had been torn up the previous month from construction! We used a compost mulch for our garden beds from a local composting facility because we didn’t have enough of our own, but, when possible, it is always more beneficial to use your own compost if you can. For our walkways we used regular mulch as we wanted something that would still help to enhance the soil underneath over time as it slowly breaks down as well as help with water retention and keeping weeds at bay! 

As an experiment I did do the potato row without cardboard and instead covered the top of the row with weed barrier fabric, I then cut large holes for where I planted the seed potatoes. It worked really well for suppressing the weed, though I did have a couple here and there where I had cut the holes. it also helped a lot with moisture retention in the soil. Having the fabric on top also was great at keeping the light off of any potatoes that were protruding through the soil and the earthworms loved it for the darkness and moisture too! 

Overall, 2021 was a great gardening year, it came with its challenges to be sure. Trying to keep everything alive in 45-degree Celsius weather was a new one for me (not normal for gardening zone 5b Canada!) but we made it through and everything, including us, survived. I’m so proud of what we were able to accomplish growing in our garden on a bigger scale in just its first year! I definitely learned a lot, and am now so excited to put all of that knowledge to good use for this upcoming year. 

If you are thinking about starting a vegetable garden of your own, no matter how big or small, I highly recommend Charles Dowding’s No Dig Method! It’s easy, low maintenance and it allows you to start growing with success right away!!! 

Happy Gardening!

H

My Favourite Pickling Recipe

I had tried homemade pickles once, years and years ago that a family member had made, unfortunately I found them to be WAY too salty…I didn’t know too much about canning at the time and just thought that’s how all homemade pickles tasted and it totally turned me off of ever wanting to make them myself…but, thankfully now I have a lot more knowledge than I did back then, and clearly, I was very wrong!! 

This past growing season was a very good cucumber year for us in the garden, so I decided to finally try canning pickles for the first time! I was supper picky about the taste I was going for as I didn’t want them to be too salty and wanted them to be the perfect combo of sweet, tangy and salty…so, I started searching online and found a canning recipe on Pinterest, I believe it was… that sounded good. I gave it a try and well, let’s just say it was a total failure…the recipe itself had good flavor, but the water bath times per your elevation were too long and I ended up over cooking the pickles in the water bath and they turned to complete mosh!!! Luckily since it was my first try it was a very small batch! 

I decided to keep searching and started looking online again. This time I found the Bernardin Home Canning website. I highly recommend checking their site out if you are new to canning or just looking to try a new recipe! I searched through the site and found a Dill Slices pickling recipe that sounded good and tired it out and it worked so great!! The instructions were easy and straightforward and the pickles turned out delicious and crunchy. For a second attempt it was a great success in my books!! 

If you’d like to try out this pickle recipe, I’ve linked it below as well as in my post above! 

Happy Canning! 

Seed Organization

This seed storage and organization idea is quickly becoming one of the most popular ways to keep your seed packets safe and at the ready for whenever you’re needing them!  

I decided to try it out at the begining of this season, so I ordered this one from amazon and it was a serious game changer you guys!!! Worth every penny and saves soooo much time! 

Please try it out if you haven’t already, I promise you won’t be disappointed! 

H

Storing Carrots Over Winter

Rainbow Carrots

This year in the fall I prepped the majority of our carrots for winter storage. It was my first time doing this so there was a bit or trial and error involved, but this is what I have found has worked best for us so far!! 

There are several methods out there for storing your carrots over winter, all different depending on your availability to space and growing region!  

The 1st method I tried out was storing them in sand. I tried this out on a small batch and stored them in our root cellar for roughly 2 months. This did work in terms of keeping the carrots firm, however these were the problems I found… 

  1. The sand has to be at the perfect moisture level for your carrots and finding that balance can involve a bit of trial and error! For me the sand I used had too much moisture which resulted in the carrots starting to grow roots and tops…  
  1. It can be difficult to find sand to use that is dry enough for what the carrots need! 
  1. Its HEAVY! Very heavy…and unless you have the muscles of a Greek god it can be awkward and challenging having to pack, shovel and move it and the storage containers around!  

So, after I realized all of the above, I decided to try a different method! 

Storing carrots in wood shavings was the 2nd method I tried and so far, (fingers crossed) it’s working amazingly! This way I have found takes less time and tends to be a lot more fail proof.  


Because this was my first year attempting to store our carrots, I tried to use supplies we already had lying around.  (In case things went horribly wrong and this ended up being a total failure!)  

For this method I used: 

  • 1 large bucket, big enough to hold the right number of carrots you’re wanting to store.  
  • Wood shavings,  either your own or purchased from your local feed store. 

I began by putting a layer of shavings on the bottom of the bucket then adding a layer of unwashed carrots (with green tops removed) then covering with another layer of shavings and repeating this till the bucket is almost full. If you feel extra moisture is needed you can lightly spritz each saw dust layer with water as you go. It is important to leave the carrots unwashed as it helps them store for a longer period of time. It’s also important to only use undamaged carrots and to not have the carrots touching, as this will help prevent spoilage.  So far these techniques have worked well for me.  

Once I filled the bucket and topped with the last layer of carrots and wood shavings (making sure everything is well covered) I transferred it to our root cellar, where it was then covered with a lid. I used a small scrap piece of plywood for ours. It’s important to leave a lid on as this helps keep the moisture inside. If you are worried your carrots are needing more moisture you can lightly spray the top layer of the wood shavings with water whenever taking some out for use. The storage location also needs a temperature of between 0 to 5 degrees Celius for optimal longevity.  

So, this has been what I’ve learned so far! Our carrots have been in the root cellar for just over 2 months now and are still going strong and staying nice and crispy!  Very much hoping they will last into the spring if not longer.  I will do some progress updates along the way as well as some info on the carrot varieties that I chose to grow for storage!! 

Wish me luck! 

Hello World!

Welcome to my blog!  

This is a first for me, so please bear with me as I navigate and learn the ins and outs of this whole blog thing… 

Really, I’m just a girl who loves her vegetable garden…like a lot!! I do not claim to be a gardening expert by any means…but what I have learned so far, I would love to share with you all in the hopes that it could help someone else just starting out. And a blog seemed like the perfect way to do that!  

Everything I’ve learned about gardening over the years has been from a lot of books. And well, honestly a fair amount of google too…a little from my dad, and most of all from a LOT of trial and error, which, if I’m being completely honest, I find is the best way to learn!! 

On my journey to learning how to live a more self-sufficient life I hope to share with you gardening tips, food storage methods, recipes, my love of photography and of course all the successes and challenges I experience along the way as I learn new things! 

So please, follow along as I go through this new learning experience towards a more self-sufficient lifestyle. And if for nothing else, enjoy the photographs that hopefully help showcase how beautiful and rewarding starting your own vegetable garden can really be!