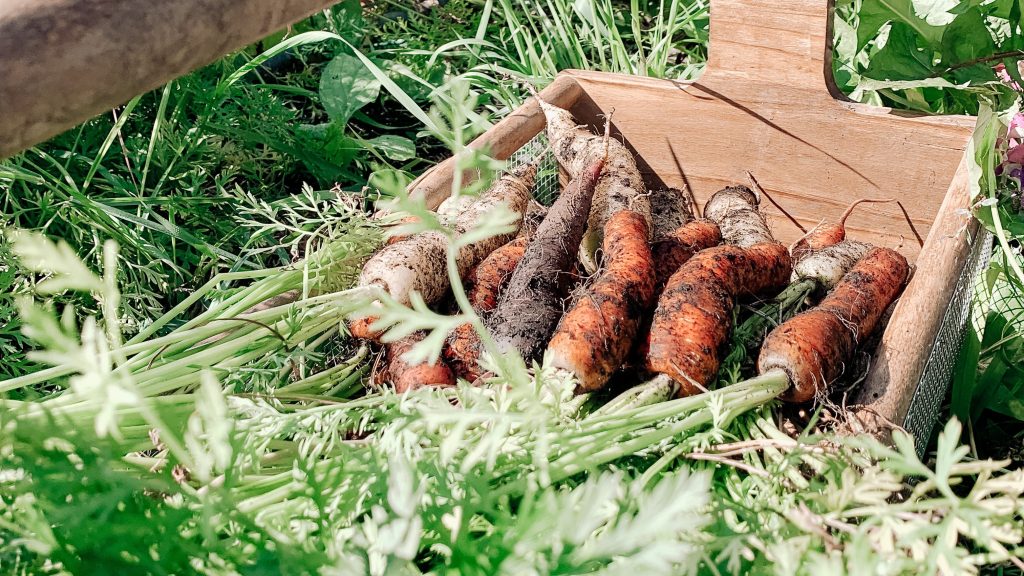
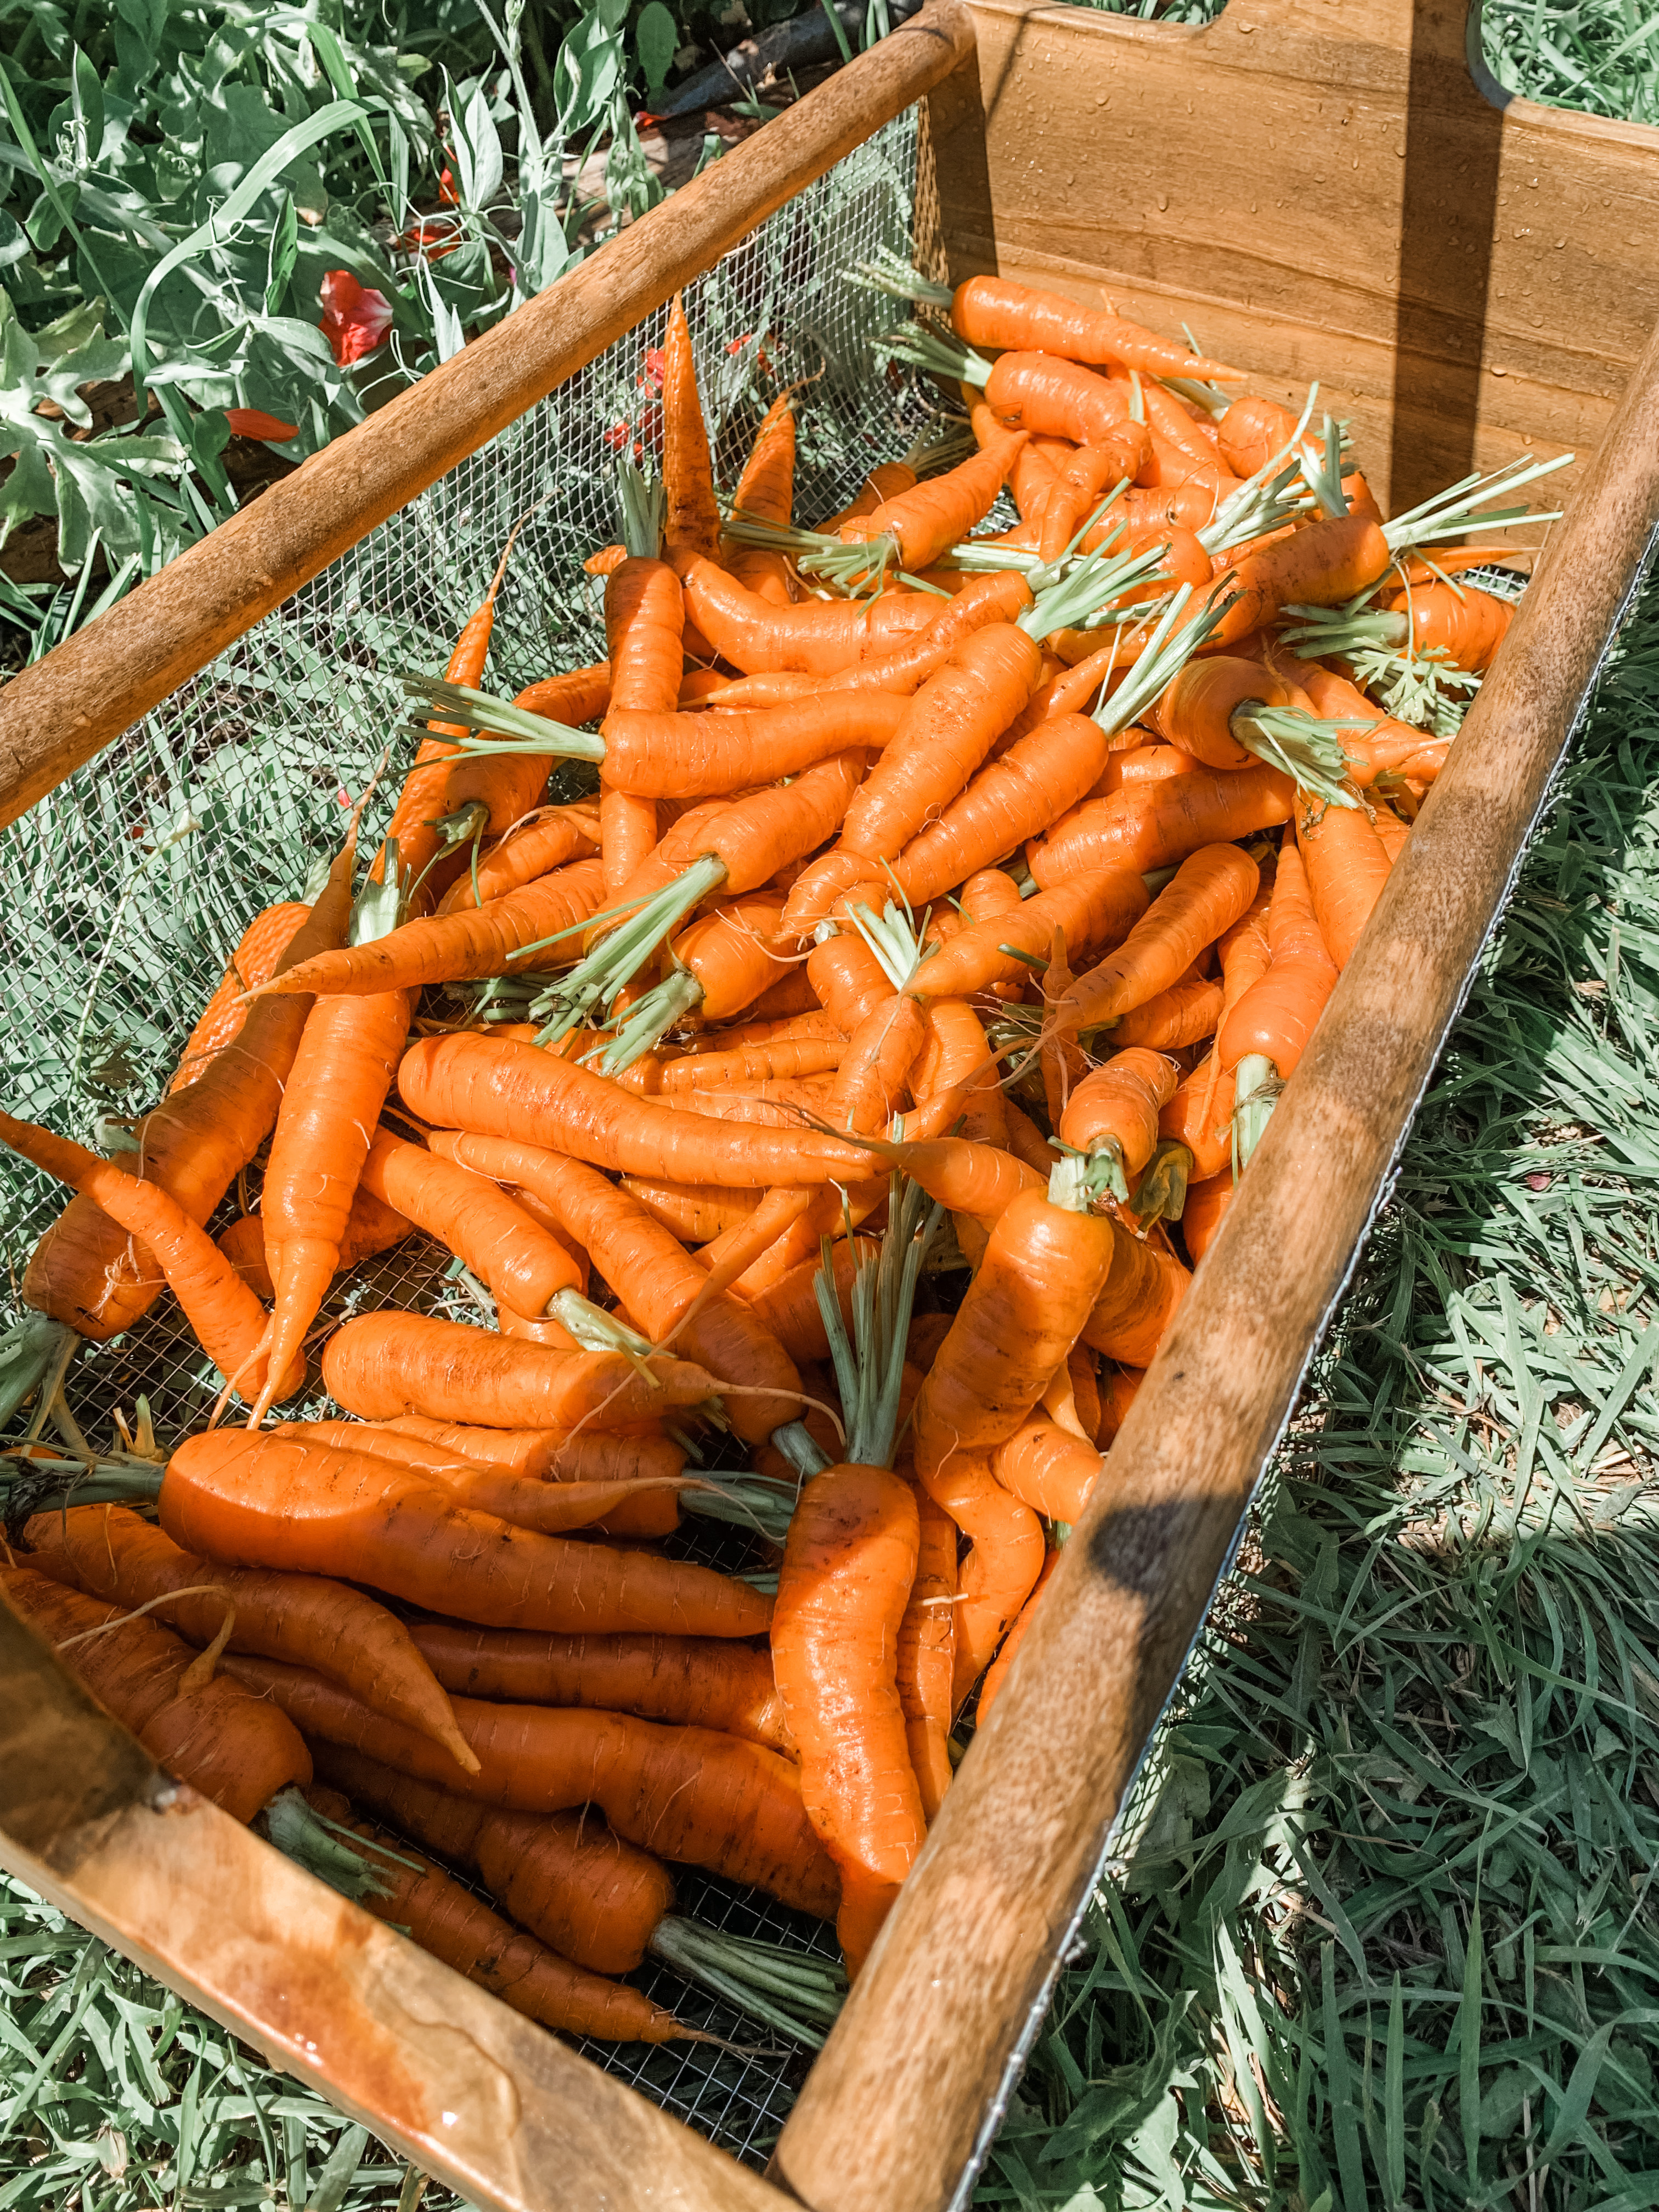
This year in the fall I prepped the majority of our carrots for winter storage. It was my first time doing this so there was a bit or trial and error involved, but this is what I have found has worked best for us so far!!
There are several methods out there for storing your carrots over winter, all different depending on your availability to space and growing region!
The 1st method I tried out was storing them in sand. I tried this out on a small batch and stored them in our root cellar for roughly 2 months. This did work in terms of keeping the carrots firm, however these were the problems I found…
- The sand has to be at the perfect moisture level for your carrots and finding that balance can involve a bit of trial and error! For me the sand I used had too much moisture which resulted in the carrots starting to grow roots and tops…
- It can be difficult to find sand to use that is dry enough for what the carrots need!
- Its HEAVY! Very heavy…and unless you have the muscles of a Greek god it can be awkward and challenging having to pack, shovel and move it and the storage containers around!
So, after I realized all of the above, I decided to try a different method!
Storing carrots in wood shavings was the 2nd method I tried and so far, (fingers crossed) it’s working amazingly! This way I have found takes less time and tends to be a lot more fail proof.

Because this was my first year attempting to store our carrots, I tried to use supplies we already had lying around. (In case things went horribly wrong and this ended up being a total failure!)
For this method I used:
- 1 large bucket, big enough to hold the right number of carrots you’re wanting to store.
- Wood shavings, either your own or purchased from your local feed store.
I began by putting a layer of shavings on the bottom of the bucket then adding a layer of unwashed carrots (with green tops removed) then covering with another layer of shavings and repeating this till the bucket is almost full. If you feel extra moisture is needed you can lightly spritz each saw dust layer with water as you go. It is important to leave the carrots unwashed as it helps them store for a longer period of time. It’s also important to only use undamaged carrots and to not have the carrots touching, as this will help prevent spoilage. So far these techniques have worked well for me.
Once I filled the bucket and topped with the last layer of carrots and wood shavings (making sure everything is well covered) I transferred it to our root cellar, where it was then covered with a lid. I used a small scrap piece of plywood for ours. It’s important to leave a lid on as this helps keep the moisture inside. If you are worried your carrots are needing more moisture you can lightly spray the top layer of the wood shavings with water whenever taking some out for use. The storage location also needs a temperature of between 0 to 5 degrees Celius for optimal longevity.
So, this has been what I’ve learned so far! Our carrots have been in the root cellar for just over 2 months now and are still going strong and staying nice and crispy! Very much hoping they will last into the spring if not longer. I will do some progress updates along the way as well as some info on the carrot varieties that I chose to grow for storage!!
Wish me luck!
H
